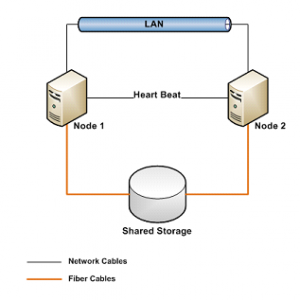
The below tutorial will help you to configure Cluster mode in Windows Server 2008 R2, the diagram below is basic architecture of how Servers will detect heartbeat from each other so that if in case heartbeat stops then another server can take over the failed node.
Failover Clustering System Requirement:
– Windows Server 2008/R2: Failover Clustering feature is available with Windows Server 2008/R2 Enterprise/Data Center editions. You don’t have this feature with the Standard edition of Windows Server 2008/R2.
– Domain role: All servers in the cluster must be in the same Active Directory domain.
DNS Resolution: The servers in the cluster must be using Domain Name System (DNS) for name resolution.
– Account for administering the cluster: When you create a cluster or add servers to it, you must be logged on to the domain with an account that has administrator rights on all servers in that cluster (if the account is not a Domain Admins account, the account must be given the Create Computer Objects and Read All Properties permissions in the domain)
– Servers: Two identical servers in configurations.
– Device Controllers: iSCSI or Fiber (HBA).
– Storage: You must use shared storage.
Once Pre-requisite is met, now let’s start with process:
Configuration on Server A :
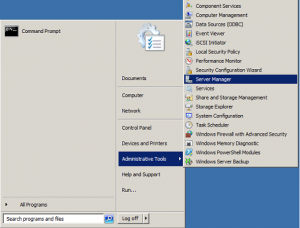
| To install Failover feature, open Server Manager. Click on Start > Administrative Tools > Server Manager |
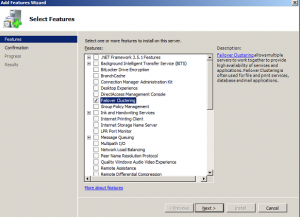
| Expand Features, and then click on Add Feature. |

| The list of available features will be listed, select the Failover Clustering and click on Next |
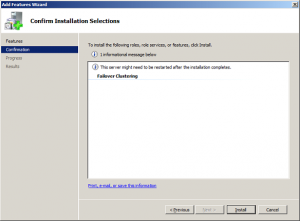
| After Clicking Next , Click Install |
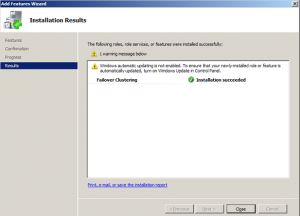
| Once Failover Clustering feature is installed, Click Close |
Configuration on Server B
Same Steps need to be followed on Server B and make sure we follow the same steps as we have followed for Server A.
Now that both servers have Failover Clustering feature installed on them, we can create the cluster on one of these servers and join the other one to the cluster.
Now, we need to open and configure our cluster name, IP and nodes.
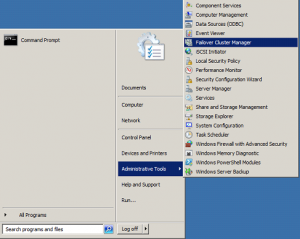
| To open Failover Clustering, click on Start > Administrative Tools > Failover Cluster Manager>> These steps need to be done on a single server only << |
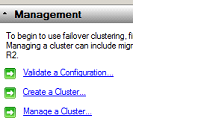
| The first step in creating a successful failover clustering is by validating the existing systems and shared storage. This is done by the option Validate a Configuration |
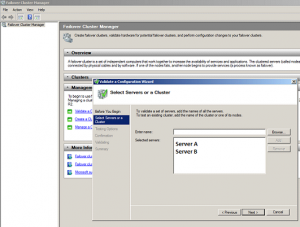
When you click on Validate a Configuration, you will need to browse and add the Cluster nodes, these are the servers that will be part of the cluster, then click Next
| Choose to Run all tests and click Next |
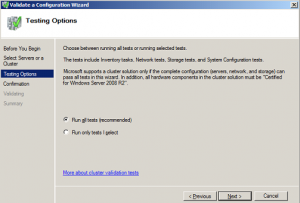
| The available tests will be displayed in the confirmation window, click Next to begin validating your cluster |
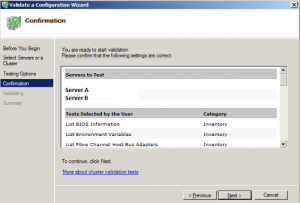
| Once you will click Next the test will start running and following will show it on screen: |
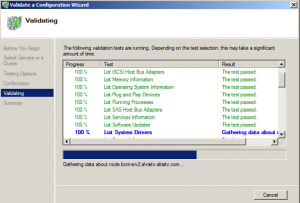
| Review the validation report, as your configuration might have few issues with it and needs to be addresses before setting up your cluster. |
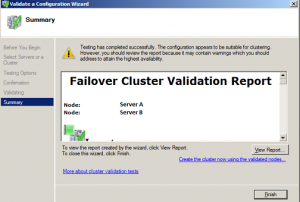
| Now that the configuration is validated and you are ready to setup your cluster. Click on the option below Create the cluster now using the validated nodes, the wizard will launch, read it and then click Next |
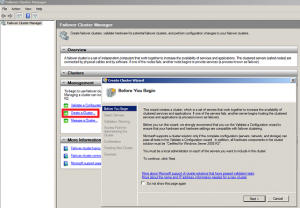
| You need to add the names of the servers you want to have in the cluster. You can start creating your cluster with a single server and then add other nodes in the future.Browse to your servers and then once all the servers ( nodes ) are listed, click Next |
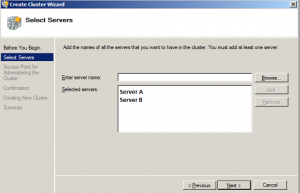
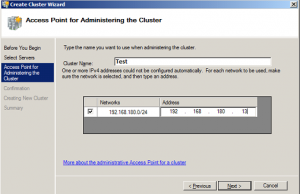
| After the servers are selected, you need to type a name and IP for your Cluster |
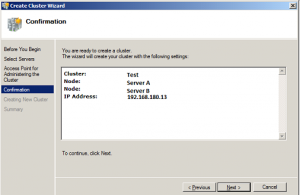
| On the Confirmation window, review your settings. The following will be displayed in this window: cluster name and IP address, selected servers name. If all info is proper, then click Next. Else click Previous and correct the setting if required: |
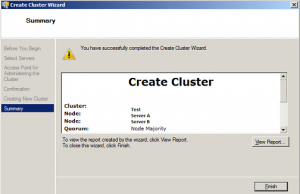
| The summary windows will be displayed after a successful setup of the cluster. |
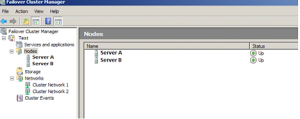
| Open Failover Cluster Manager and you will see your nodes along with their status. Here you can configure your cluster, add new nodes, remove nodes and so on. |
